

How to Start a Vibration Plate Workout for Strength and Balance
A vibration plate is a platform that creates rapid movement beneath your feet, adding vibration to simple exercises such as squats and balance holds. For a vibration plate workout for beginners, start with a low setting and a short session of 5-10 minutes, using 20-30 seconds for each exercise and resting between movements.
It’s natural to wonder whether a brief session can be useful or how to move comfortably on a vibrating surface. A gradual start lets you focus on stable footing and controlled movement rather than trying to do too much at once. You’ll learn how vibration plates work, how to try beginner-friendly lower- and upper-body exercises, and what benefits short sessions may offer. The guide also covers simple ways to adjust your stance and intensity as you become more comfortable.
Table of Contents
Why Start with Whole Body Vibration Training?
A vibration plate creates rapid movement beneath your feet while you hold a position or perform an exercise. Start with a low setting, short intervals, and movements you can control. A vibration plate workout for beginners is a gradual introduction, not a test of how much intensity you can tolerate.
Compare Vibration Workouts with Regular ExerciseUse vibration training to add a movement challenge to basic exercises, not as a replacement for regular activity. A squat or balance hold can feel different when the platform vibrates beneath your feet. Depending on the machine, the platform may move up and down, side to side, or front to back. Focus on controlled movement rather than expecting vibration alone to do the work.
Choose a Plate with Beginner-Friendly FeaturesLook for adjustable settings that let you begin at the lowest or medium-low level, plus controls you can understand before stepping on. A clear display of the selected setting helps you keep your session consistent. Check that the platform gives you enough room to stand with balanced footing, and review its instructions before use. Avoid choosing a machine based only on its highest setting or number of programs.
Start with Low Vibration SettingsSet the vibration to its lowest or medium-low level for your first session. A usual beginner starting frequency is 15-20 Hz. Before starting the machine, bend your knees slightly and shift your weight forward onto your toes. This stance helps you adjust gradually to the movement. For a vibration plate workout for beginners, use the lowest comfortable level if the machine displays settings differently.
Keep your first session to 5-10 minutes total. Choose 3-4 exercises, holding each for 20-30 seconds, then rest between movements. This gives you time to notice how the platform feels without making the first workout long. For example, combine a standing hold, a shallow squat, and a calf raise. Stop adding exercises once the planned short session is complete.
Warm up with a few simple movements, such as shoulder rotations, side-to-side reaches, and half squats. Turn on the platform as directed, then step onto it carefully. Keep your knees soft rather than locked, and find a balanced stance. Ease into the session instead of rushing into a longer routine.
Use rest breaks to reset your footing and posture. Rest for 15-20 seconds between vibration-plate exercises, then start the next movement only when you feel steady. During the first week, the movements may feel awkward, and you may feel tired while adapting. Keep the settings low and the exercises brief instead of extending the session to push through fatigue.
Increase each exercise gradually as the movements become familiar. You can work toward 45-60 seconds per exercise when comfortable, rather than making every change at once. Track the setting, exercise, and hold time after each session. Over 2-3 weeks, beginners may feel more balanced and comfortable on the plate, making controlled progression easier to judge.
Lower-body exercises for strength and balance
Start with controlled lower-body movements. Follow the steps in order, keeping your stance steady and your range of motion comfortable.
Begin with a bodyweight squat on the plate. Place your feet about hip-width apart, lift your chest, and bend your knees as your hips move back. Lower only as far as you can while keeping both feet planted. Press through your feet to stand, and keep your knees aligned rather than letting them collapse inward.For the listed beginner squat, complete three sets of 10 repetitions, resting 30 seconds between sets. Use a controlled pace rather than bouncing at the bottom. Each repetition should look similar, with your weight balanced across both feet.
Try calf raises to practice balance through your ankles and feet. Stand tall with your feet comfortably apart, then rise onto your toes without rocking forward. Lower your heels with control. Keep your knees relaxed and your stance stable before increasing your pace or adding arm movements.Pause for 2 seconds at the top of each toe raise, then pause for 2 seconds with your heels lowered. These brief holds make it easier to notice whether your weight shifts toward one side. Keep the movement small if a higher rise makes your balance less steady.
Practice reverse lunges by stepping one foot behind you and bending both knees. Lower your hips until both knees are at about 90 degrees, then push through the front foot to return to standing. Alternate sides at a measured pace, keeping your torso upright and your front knee aligned with your foot.Shorten your step if you can’t maintain a stable position. Aim for a smooth lowering and return, not the deepest possible lunge. Keep your front heel grounded as you rise, and pause between sides to reset your footing.
Connect the movements into whole-body patterns. A squat works your hips and legs while your trunk stays steady; a reverse lunge changes your stance and challenges balance. Practice each movement separately before combining them. This makes it easier to notice whether your posture shifts when one foot moves.
For a beginner full-body routine, pair a squat, calf raise, reverse lunge, and cross-body punches. Punches add upper-body movement while your feet stay planted. Keep your lower body softly engaged and move one arm across your body at a time. This adds variety without turning the routine into a fast sequence.
Afterward, review how each exercise felt. Notice whether both sides felt equally controlled during lunges and whether your balance stayed steady during calf raises. If it becomes difficult to maintain your form, reduce your range of motion or return to a simpler stance. Build strength work gradually, prioritizing movement quality over speed.
Potential benefits of vibration plate training
Treat vibration training as a different movement challenge, not a shortcut to guaranteed results. Use the following steps to set realistic goals and build a beginner-friendly weekly plan.
Choose one practical goal for your routine, such as practicing balance during a standing hold or adding resistance-free movement. Whole-body vibration training dates back to the 1960s, and current platforms can deliver harmonic vibrations 25 to 50 times per second. That describes the platform’s movement, not a promise of a particular fitness outcome.
Focus on active exercises to make strength work the priority. A vibration plate can accompany a controlled squat or standing balance hold, giving you a specific task as the platform moves. Notice whether you can keep your posture steady throughout each movement. Record which exercises feel controlled and which need a simpler version.
Set a balance goal you can observe. For example, notice how steady you feel standing evenly on both feet, then repeat the hold with your attention on posture. The platform adds a movement challenge, but a useful measure is whether you can stay controlled. A higher setting doesn’t prove that your balance is better.
Keep expectations about weight loss realistic. Vibration plate exercises can be part of a broader movement routine, but vibration alone doesn’t establish a weight-loss result. Focus on the activity you can perform, such as completing a controlled set or maintaining stable posture. Don’t treat a change in vibration setting as a measure of progress toward that goal.
Plan your week around different effort levels. If you include more intense sessions, alternate demanding and lighter workout days rather than stacking them together. A lighter day can focus on relaxed positions and controlled movement; a more demanding day can include active exercises you already know. Give each session a clear purpose.
Progress by changing one element at a time. After you feel comfortable with a movement, increase its hold by 10-15 seconds in an intermediate routine, or choose a more active variation. Don’t raise the vibration setting, extend the hold, and add new exercises all at once. Changing one factor helps you identify what feels manageable.
Review your routine over 2-3 weeks. Beginners may feel more balanced and comfortable on the plate during this period. Note which movements feel easier to control and which still need adjustment. Use those observations to shape your next week’s plan, rather than relying on a single session to judge progress.
Upper-body exercises with optional light weights
Build the upper-body portion around controlled repetitions and steady posture. Start with bodyweight movements, and add light dumbbells only if you can keep each exercise smooth.
Start with cross-body punches, standing with your feet stable. Bring one arm across your body, return it to the starting position, and then alternate sides. Keep each punch controlled instead of snapping your elbow straight. This adds upper-body movement without weights and lets you practice coordinating your arms with a steady stance.
Add uppercuts as a separate movement. Bend your elbows and bring one fist upward along a short, controlled path, then switch arms. Keep your shoulders relaxed and avoid turning each punch into a fast swing. Practicing without dumbbells first helps you focus on the movement and stay controlled while the platform vibrates.
Choose optional light dumbbells weighing 2-5 lbs for punches or upper cuts only if your stance stays steady. Hold one weight in each hand and use a small, comfortable range of motion. If the added load changes your posture or makes your arms move abruptly, put the weights aside. Bodyweight versions remain useful exercises on their own.
Try a triceps dip with your hands supported on the platform’s edge and your feet positioned comfortably. Lower your body with control, stopping when your elbows reach 90 degrees or your hips can’t lower farther. Keep your shoulders from shrugging toward your ears. Treat the depth limit as a clear endpoint, not a target to push past.
Use the easier dip setup when it helps you stay controlled: place your feet flat on the ground and bend your knees to 90 degrees. Perform three sets of 10 repetitions, resting 30 seconds between sets. Stop each descent at the stated elbow limit or when your hips can’t lower farther. Keep the movement consistent across all three sets.
Include a high plank hold for a simple upper-body stability challenge. Hold for three 30-second sets, with a 15-second reset between sets. Place your hands securely, keep your body aligned, and avoid letting your hips sag. If the position becomes difficult to maintain before the hold ends, reset rather than continuing with a changing posture.
Arrange the exercises in a short sequence: cross-body punches, uppercuts, triceps dips, then high plank holds. Keep each movement distinct and use the listed rest periods for dips and planks. This sequence lets you practice dynamic arm movements alongside controlled holds without rushing through a circuit.
Check your form throughout the sequence. Notice whether your stance stays steady during punches and whether your elbows follow a consistent path during dips. Dumbbells are optional, not essential. Practice the bodyweight movements until you can complete each set or hold with controlled movement and steady positioning.
Effectiveness of short vibration plate workouts
Evaluate a short workout by what you do, how consistently you repeat it, and whether your movements remain controlled. A brief session can be practical when it fits into a broader movement routine.
Set a clear purpose before stepping onto the platform. Choose one focus, such as practicing a squat with steady form or completing a balanced sequence of movements. A targeted vibration-plate routine takes approximately 10 minutes. Treat that as a useful, defined workout window, not evidence that every fitness goal can be reached in that time.
Compare the format with your actual schedule. Traditional fitness advice often focuses on gym sessions lasting 30-60 minutes, while a targeted plate routine is shorter. A shorter session may be easier to fit into a busy day. It still needs purposeful movement; standing passively on the platform doesn’t provide the same exercise task as performing controlled squats or holds.
Build the session around exercises you can perform with consistent form. For example, pair a squat with a balance hold, then add an upper-body movement. Complete each exercise with control rather than rushing through several variations. Your exercise choices, range of motion, and ability to maintain posture all shape the quality of the session.
Track consistency rather than expecting one session to show a clear change. Write down the date, the movements you completed, and what felt manageable. Some users notice changes from consistent vibration-plate use within 2-6 weeks. That timeframe is not a guaranteed result, so use your record to assess your own comfort and progress instead.
Separate observable changes from assumptions. After repeating a routine, note whether you can hold a position more steadily or complete an exercise with greater control. These are practical observations, not proof of a particular health or body-composition effect. Don’t judge effectiveness by vibration intensity alone: a higher setting doesn’t automatically make a routine more useful.
Keep the plate within a balanced activity plan. Use short sessions to add structured movement while maintaining other forms of regular exercise that fit your routine. If your goal is strength, include active exercises. If balance is your focus, prioritize stable positions and deliberate transitions. A clear goal makes each brief session easier to plan and evaluate.
After several consistent weeks, review your notes. Look for patterns in movement control, comfort, and session completion rather than relying on one workout. If your routine feels repetitive, change one exercise while keeping the rest familiar. That makes it easier to compare sessions and decide whether the short format supports your ongoing activity habits.
Contour Body Imaging: Vibration Plate
Contour Body Imaging offers a Vibration Plate option for readers who want to explore this style of movement beyond a self-directed routine. It may be a natural next step if you’re interested in trying a vibration plate as part of your wellness routine. Consider how it fits your goals, such as adding a new movement experience alongside exercises for strength and balance. The plate is one option, not a substitute for regular exercise or a guarantee of specific results. If you’d like to learn more about the Vibration Plate offering and decide whether it suits your interests, contact Contour Body Imaging.
Make Your Next Move at Your Own Pace
Choose your next step based on what you want from your wellness routine. A vibration plate workout for beginners can be a starting point for exploring new movement, while longer-term goals may call for a different approach. Keep your decisions grounded in the experience and outcomes that matter to you.
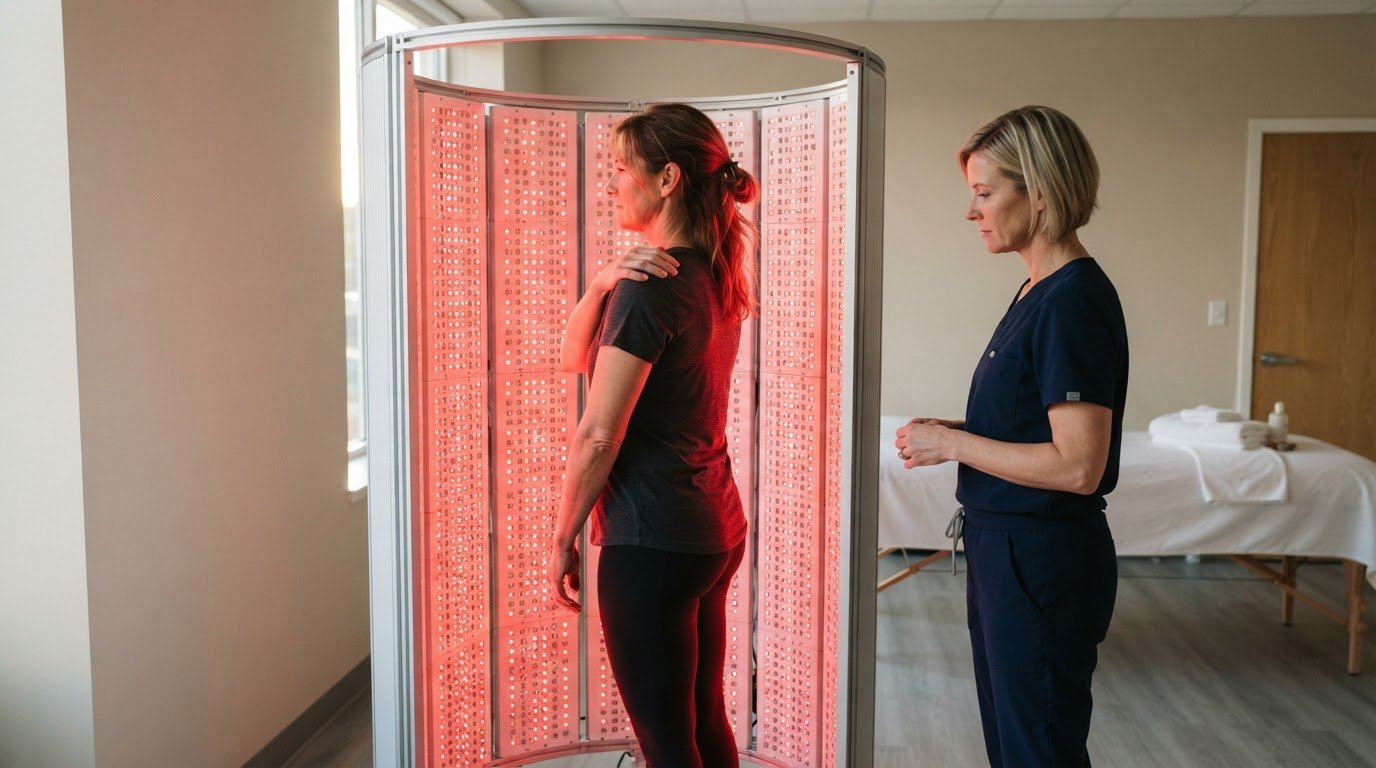
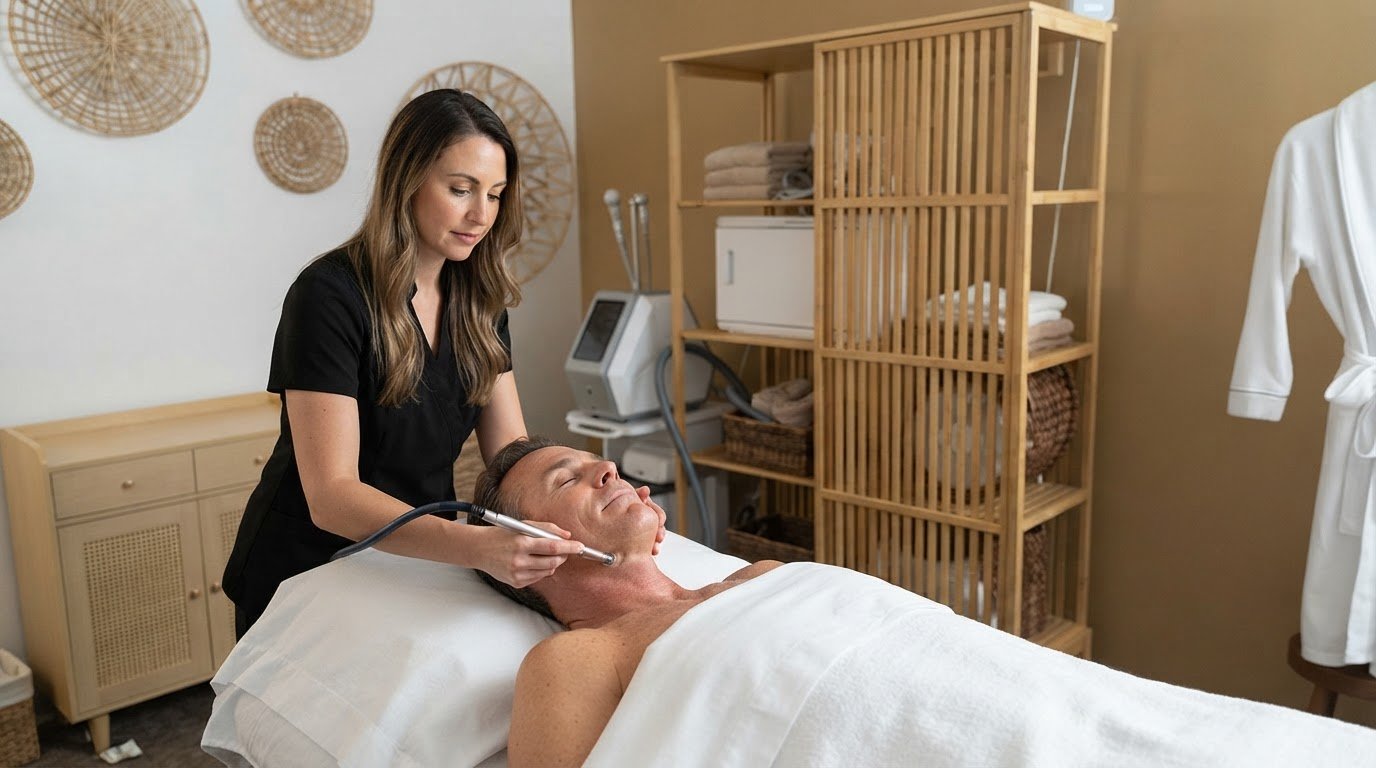
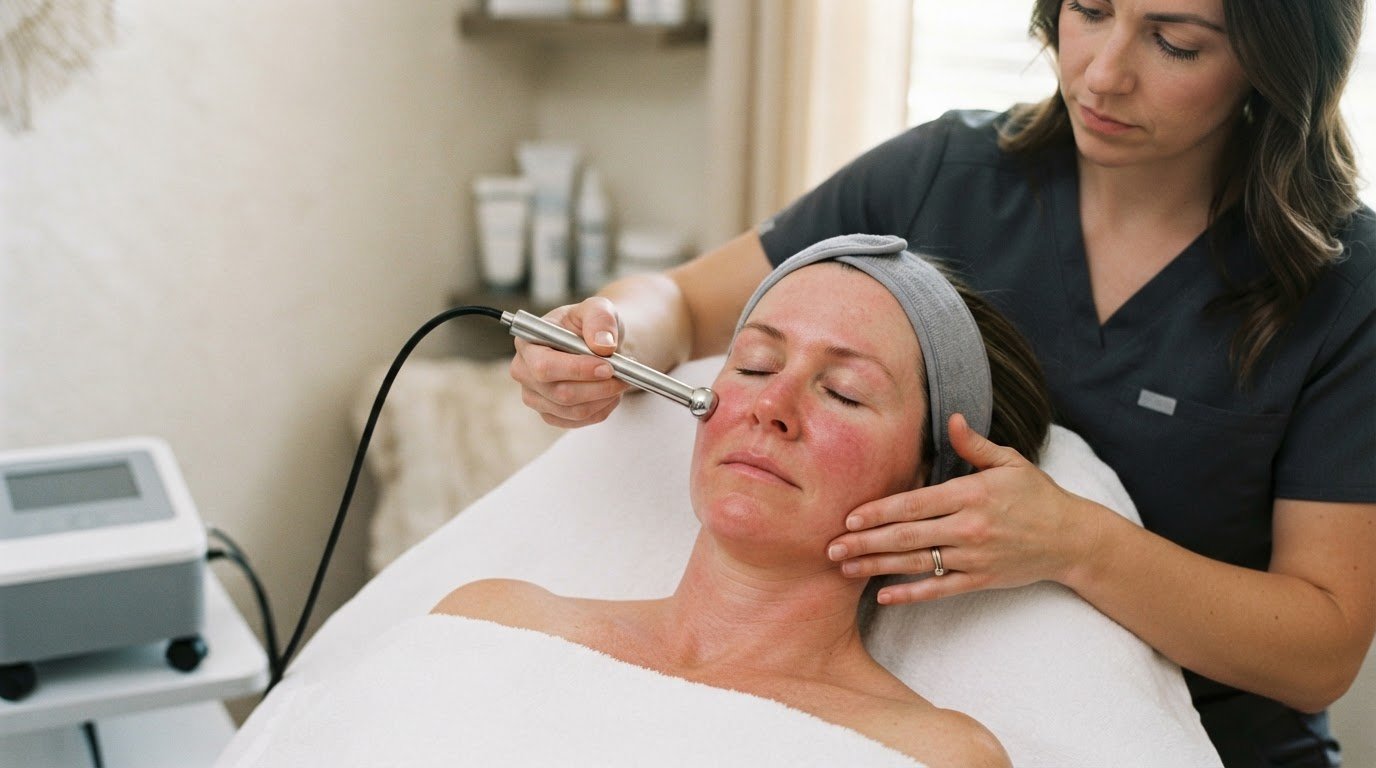
Contour Body Imaging also offers Cryo T-Shock Body Contouring, Cryo Facial, and Endosphere Therapy®. These are distinct options for people interested in aesthetic and wellness treatments beyond vibration plate training. Consider which option aligns with your goals, without expecting a treatment to replace your own routine or guarantee a particular result.
Focus on thoughtful, sustainable choices. Each step can help you build a routine that feels right for you.
Frequently Asked Questions
What Is a Vibration Plate?
A vibration plate is a platform that moves rapidly while you stand or exercise on it. The platforms described here produce harmonic vibrations 25 to 50 times per second, creating movement beneath your feet. Some plates move up and down, side to side, and front to back. Your stance and exercise choice shape how you respond to that movement, so begin with positions you can control.
What speed setting should beginners start with?
Start at the lowest or medium-low setting; a usual beginner frequency is 15-20 Hz. If your plate displays levels rather than hertz, select its lowest setting first. People with arthritis are advised to use the lowest setting. Keep your knees slightly bent and your weight forward on your toes before starting the machine, then focus on how steady your posture feels.
What is a vibration plate workout and how does it work?
A vibration plate workout combines a moving platform with active positions or exercises. While the platform vibrates beneath you, you can perform movements such as squats or hold a standing position. The movement adds a balance challenge, while the exercise gives you a specific task. Start with a simple movement and keep your posture consistent rather than relying on the platform alone.
What are beginner vibration plate exercises?
Begin with familiar movements that are easy to scale: shallow squats, calf raises, reverse lunges, and standing balance holds. For example, try a squat with a small range of motion before bending deeper. Add upper-body work, such as cross-body punches, while keeping your feet planted. Use the simplest version that lets you stay in control, then progress as the movements become familiar.
How long should beginners use a vibration plate per session?
Start with a total session of 5-10 minutes. Choose 3-4 exercises and perform each for 20-30 seconds, with rest breaks between movements. For example, combine a standing hold, a squat, and calf raises, then pause to reset your stance. Keep the session short enough to maintain controlled movement. As you grow more comfortable, gradually work toward longer exercise holds.
How many days per week should beginners use a vibration plate?
There isn’t one weekly schedule that suits every beginner. Plan around how demanding each session feels, and alternate heavier and lighter days if you do more intense workouts. A lighter session can emphasize familiar movements and relaxed positions, while a more demanding one can include active exercises. Keep the routine consistent without making every session strenuous.
What is a safe beginner vibration plate workout routine?
Choose a low setting and begin with a simple sequence: a standing hold, shallow squats, and calf raises. Keep each exercise brief, then rest and reset your feet before moving on. Stand steadily, bend your knees slightly, and stop an exercise if you can’t maintain good form. Follow the machine’s instructions when starting it and stepping onto the platform.
What are the benefits of vibration plate workouts, and what does research say?
Vibration plates can add a balance challenge to familiar exercises and provide a platform for short strength routines. Some users notice changes after consistent use within 2-6 weeks, but that timing isn’t a promise of a particular outcome. Consider what you can observe directly, such as steadier movement or improved control during a squat. Don’t treat vibration alone as proof of weight loss or a specific health benefit.
Comments